 how-to
Custom Patio Design for Sloped Yards: A How-To Guide
Table of Contents
- Custom Patio Design for Sloped Yards: Planning Your Build
- What You'll Need Before You Break Ground
- Step 1: Assess Grade, Topography, and Soil
- Step 2: Choose Between Grading and Tiering
- Step 3: Retaining Wall Patio Design and Structural Integrity
- Step 4: Backyard Drainage Solutions for Slopes
- Step 5: Build Usable Zones and Stepped Pathways
- Common Mistakes and Maintenance for Sloped Hardscapes
- Frequently Asked Questions
Last Updated: October 9, 2026
Custom Patio Design for Sloped Yards: Planning Your Build
A sloped backyard is not a problem to fix. It is a design opportunity that flat lots simply cannot offer. Custom patio design for sloped yards turns a steep, unusable hill into tiered outdoor living space with views, privacy, and real architectural interest.
At Lush Design Build LLC, we build these spaces across Hamilton County. Below, we break down the full process, from reading your grade to pouring footings.
The work follows a clear sequence. Skip a step and the whole build suffers.
- Check permits and zoning rules
- Assess grade, topography, and soil
- Decide between grading and tiering
- Engineer the retaining walls
- Solve drainage
- Build usable zones and stepped pathways
Get the order right and the patio lasts decades. Get it wrong and you will pay twice.
What You'll Need Before You Break Ground
Before any excavation starts, you need four things in hand: approved permits, a survey or plot plan, a soil assessment, and a clear budget range. Missing any one of these stalls the project mid-build.
Here is your pre-build checklist:
- Property survey showing easements and setbacks
- Local permit application filed and approved
- Utility locate request submitted
- Soil test or geotechnical review
- Engineered wall drawings, if walls exceed local height limits
- Signed contract with a fixed scope and timeline
Permits and Zoning for Sloped Yard Patios
Permitting is where most homeowners get surprised. Retaining walls above a certain height usually need a permit and stamped engineering drawings. Many jurisdictions also cap how much of your lot can be covered by hardscape.
Rules vary by city and county, so confirm the details with your local building department before you design anything. The International Code Council's building code resources explain how retaining wall and grading rules are typically structured.
A good designer checks zoning first. Setbacks, height limits, and impervious surface caps all shape what you can build.
Step 1: Assess Grade, Topography, and Soil
Every sloped yard project starts with measurement. You need to know the rise, the run, and what sits under the topsoil.
Grade is the slope of the ground, measured as a percentage. A 10% grade drops one foot for every ten feet of run.
Topography is the shape of the land: where it rises, where it dips, and where water naturally flows.
Walk the site and note these things:
- Total elevation change from house to property line
- Direction of natural water flow
- Existing trees and their root zones
- Soil type: clay, loam, sand, or fill
- Any signs of erosion or standing water
Clay soil holds water and swells. Sandy soil drains fast but shifts. Both change how you build.
Step 2: Choose Between Grading and Tiering
Grading and tiering are the two main ways to make a slope usable. Grading cuts and fills soil to create one flat level. Tiering builds multiple flat levels connected by steps or ramps.
Grading suits gentle slopes and simple layouts. Tiering suits steep slopes and complex outdoor living space.
The choice comes down to three factors:
- How steep the slope is
- How much usable space you want
- What your budget allows
Cost of Grading a Sloped Yard vs. Tiered Construction
The cost of grading a sloped yard is usually lower upfront because it moves soil rather than building structures. Tiered construction costs more because it adds engineered walls, footings, and reinforcement.
But grading has hidden costs. Moving large volumes of soil can destabilize neighboring ground and often requires more imported fill. Tiering creates more usable square footage, which usually pays back better in resale value. Strategic landscape transitions allow you to define these new levels through various garden zoning ideas that transform steep, unusable slopes into distinct outdoor rooms.
Talk through both options with a designer before committing. Pricing depends on your site, wall heights, and material choices, so ask for a project estimate rather than guessing.
| Approach | Best For | Main Trade-Off |
|---|---|---|
| Full grading | Gentle slopes, simple layouts | Limited usable gain, soil movement risk |
| Full tiering | Steep slopes, multi-zone designs | Higher upfront cost, more engineering |
| Hybrid | Mixed slopes, phased budgets | Needs careful drainage planning |
Step 3: Retaining Wall Patio Design and Structural Integrity
Retaining wall patio design holds the whole project together. A wall that fails takes the patio with it.
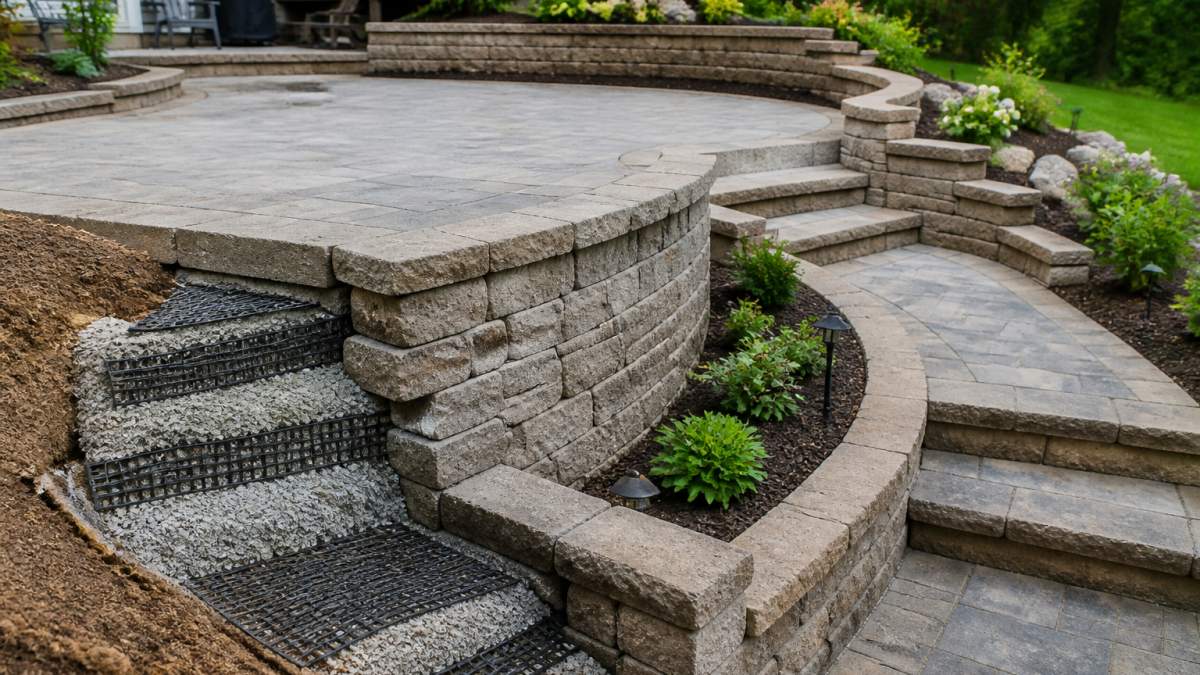
Every engineered wall needs four things:
- A compacted gravel base below frost line
- Proper backfill with free-draining stone
- Geogrid layers tying the wall into the soil
- A drainage pipe at the base
Structural integrity depends on all four. Skip one and the wall leans within a few years.
For walls over a certain height, most jurisdictions require stamped engineering. The American Society of Civil Engineers publishes guidance on how retaining structures should be designed and reviewed.
Step 4: Backyard Drainage Solutions for Slopes
Backyard drainage solutions for slopes have one job: move water away from the house and off the patio. Water is the number one killer of sloped hardscapes.
Use a layered approach:
- Surface grading to steer water toward a swale
- French drains behind every retaining wall
- Perforated drainage pipes wrapped in filter fabric
- Catch basins at low points
- Downspout extensions that discharge well away from the patio
Never let water pool against a wall or foundation. Freeze-thaw cycles can crack mortar and heave pavers.
The U.S. Environmental Protection Agency's stormwater guidance explains how runoff should be managed on residential sites.
Step 5: Build Usable Zones and Stepped Pathways
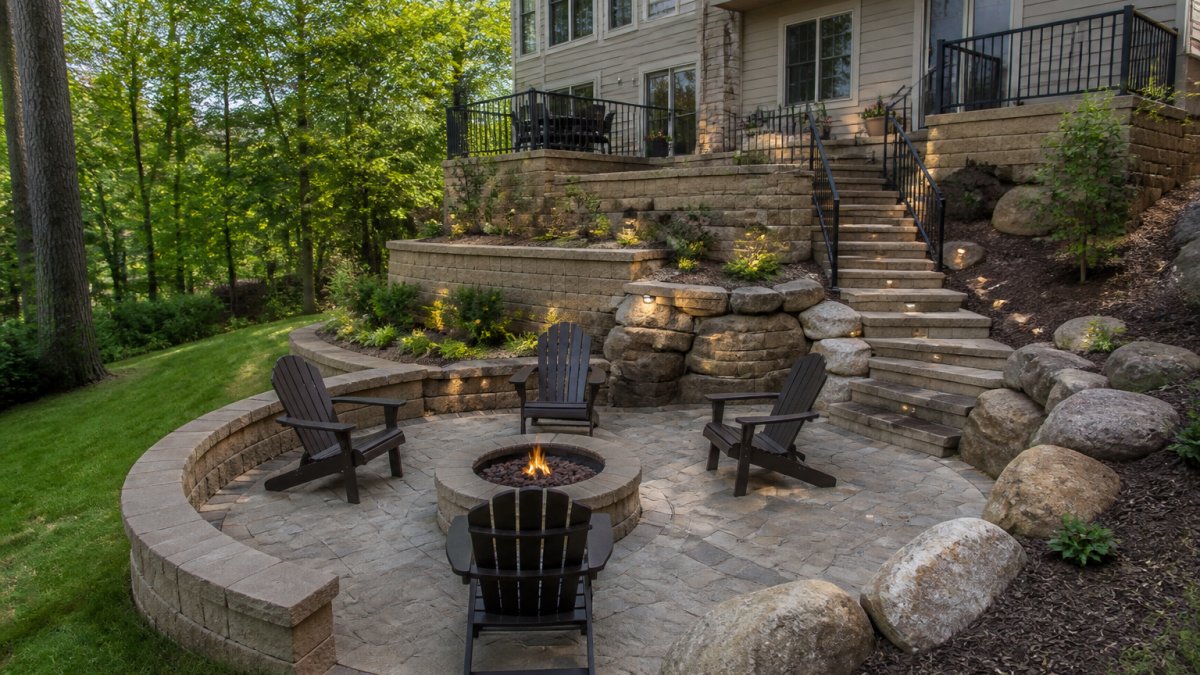
A great sloped patio is really several small patios connected together. Each tier becomes its own usable zone.
Common zones include:
- An outdoor dining area on the upper tier
- A fire pit lounge on the middle tier
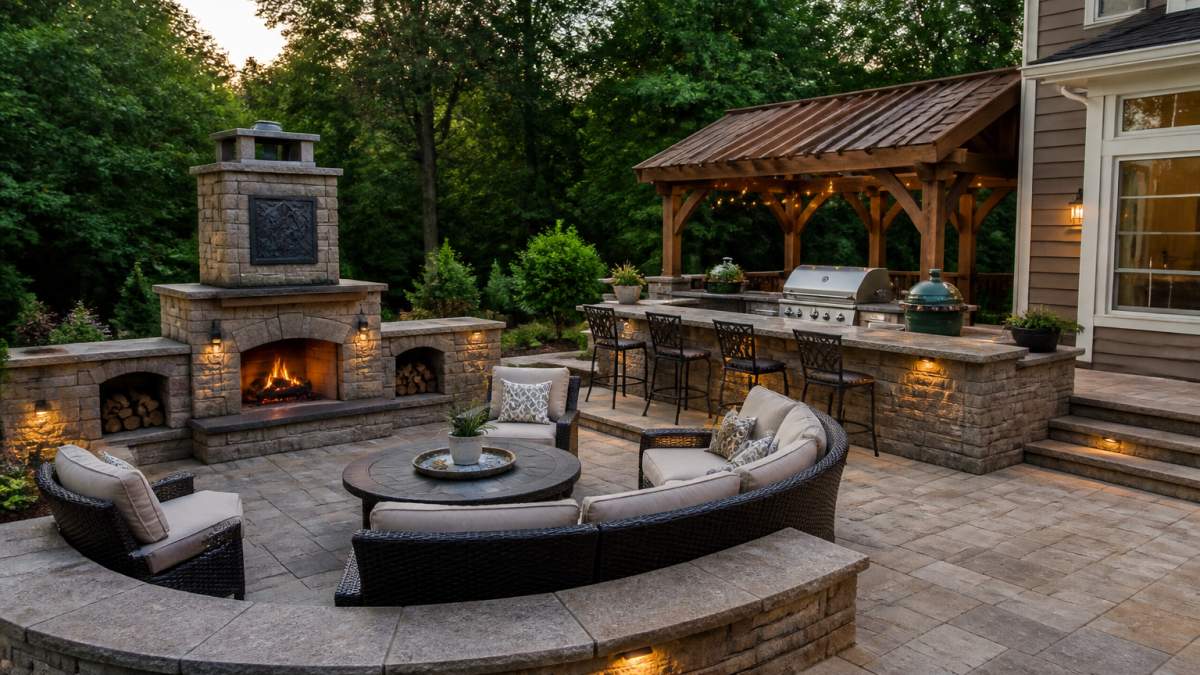
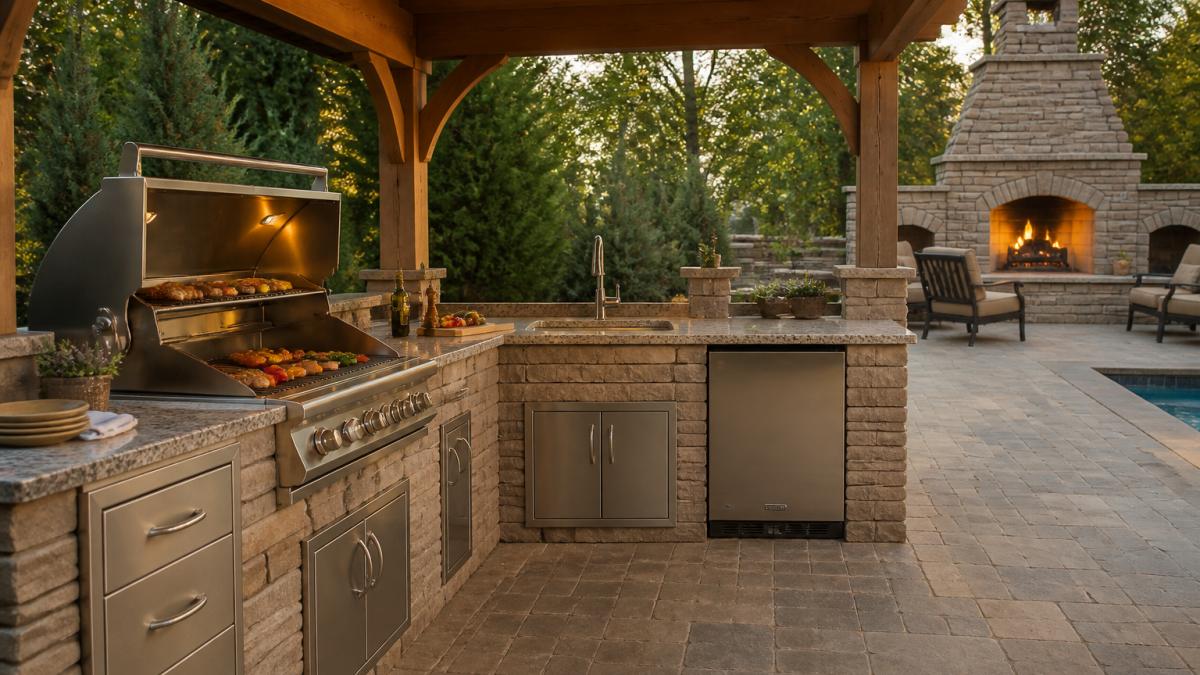
- A kitchen or bar area near the house
- A quiet garden nook on the lowest level
A stepped pathway ties the zones together. Keep step risers consistent, usually six to seven inches, and make treads deep enough to feel safe. Wide steps with landings read better than long, steep runs.
Common Mistakes and Maintenance for Sloped Hardscapes
The biggest mistake is treating a slope like a flat lot. Sloped hardscapes often need more engineering, more drainage, and more maintenance than flat patios.
Watch for these errors:
- Building a wall without geogrid or drainage
- Skipping the soil assessment
- Ignoring local permit height limits
- Using the wrong base material under pavers
- Forgetting to plan for water flow
Maintenance keeps the build sound. Check wall drainage outlets each spring. Re-sand paver joints every few years. Watch for settling or new cracks after heavy rain.
DIY work is tempting on a slope, but the structural and legal risks are real. Hiring a professional can help handle engineering, permitting, and installation.
A sloped yard rewards good planning and punishes shortcuts. The homeowners who love their finished space are the ones who solved drainage, engineering, and zoning before the first shovel hit the ground. At Lush Design Build LLC, we handle that entire process for you, from custom-designed outdoor structures matched to your home's architecture to full-service landscape design from concept to installation. We build multi-season spaces that hold up year after year. Get a project estimate and turn your slope into the best room in the house.
Frequently Asked Questions
How do you build a patio on a sloped yard?
You start by surveying the grade and soil, then decide whether to cut and fill the slope into one level or build tiered levels held by retaining walls. Excavation, compacted base, and drainage come next, followed by pavers or natural stone. Engineered walls over a certain height need stamped plans from a licensed engineer. Most sloped-yard patios take several weeks depending on elevation change.
Do I need a retaining wall for a patio on a slope?
Not always. A gentle grade can be reshaped with cut-and-fill alone. Once the elevation change exceeds roughly two feet across the patio footprint, a retaining wall usually becomes necessary to hold the upper soil and protect structural integrity. Walls above a local threshold, often four feet in many jurisdictions, require engineered design and permits. A site assessment determines what your slope actually needs.
How much does it cost to grade a sloped yard for a patio?
The cost of grading a sloped yard depends on square footage, how much soil must be moved, access for equipment, and whether drainage or retaining walls are added. Steep sites with limited access cost more because excavation is slower. Get a written estimate that separates grading, drainage, walls, and finishes so you can compare bids and phase the work if needed.
How do you handle drainage when building a patio on a slope?
Water must be directed away from the foundation and off the patio surface. Typical backyard drainage solutions for slopes include a slight pitch on the patio, perforated drainage pipes behind retaining walls, gravel backfill, and channel drains at low points. Without these, hydrostatic pressure can crack walls and soil erosion can undermine pavers within a season or two.